NFT Minting Platform for XFORGE

- Published on
- Duration
- 12 Months
- Role
- Full-Stack Developer


+2
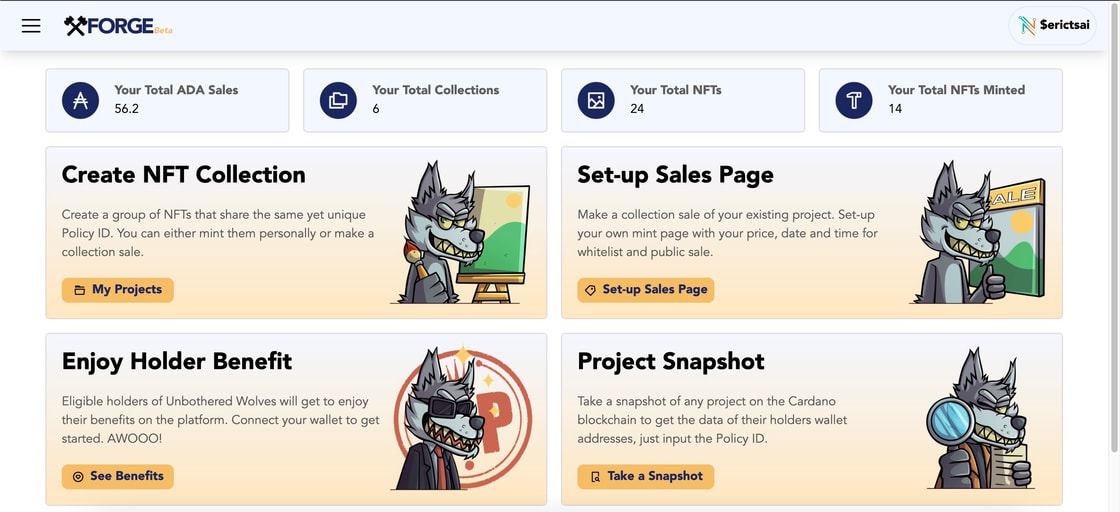
XFORGE Create and mint Cardano native assets or tokens. XFORGE helps creator Mint and launch NFT collection effortlessly on Cardano with our secure, no-code platform. Enjoy one of the lowest fees in the ecosystem, multi-signature minting
Create Project or Policy
Policy ID serves as a way to uniquely identify and verify the policy associated with a specific native token or set of native tokens. This fingerprint allows users to validate that the policy for a token adheres to the predefined rules.
You have the option to upload and configure your NFT collection using XFORGE on your own. We offer a comprehensive guide to assist you in this process. Follow the steps below to generate a policy ID and establish your royalty percentage and wallet address.
Go to app.xforge.studio and connect your Cardano wallet to log in.
On the top left, there is a [menu] button, then go to [My Projects]. You can also access the [My Projects] button on the Home page.
Click [Create New Project]
Input your project name, and select either New or Existing Policy. If it’s a new project, checkmark [New Policy]. You will then input the date of when the policy will lock, typically three years after the creation of the project. A locked policy means you can’t add more NFTs in that collection, edit metadata, or burn. You can ignore the metadata format option and click [Create].
Once the policy is created, proceed to mint the royalty token. Access the My Projects page, locate the project you created, and click on the [Royalty Token] button. Enter the wallet address where you wish the royalty to be directed and specify the percentage, usually between 5 and 10%. Moreover, it is important to remember that the royalty token must be the first minted token or NFT, within the policy.
Generate Collection
Once your artist has completed the drawing and finalized the traits, it’s time to generate the collection. Generating an NFT collection involves a developer utilizing a set of code along with the collection’s traits to generate a large number of images, each with its own corresponding metadata files. The typical supply of such collections is around 10,000 NFTs, but the code can theoretically produce millions of images depending on the total number of traits incorporated.
But before proceeding, you need to determine each trait's potential rarity, which will not be the same as the final output but close to it. This can be done by inputting the rarity information on a spreadsheet or Excel. Moreover, you can designate certain traits to avoid others, typically due to incompatibility in their layering.
The rarity subtotal of each trait category must be 100%. For a clearer understanding, refer to the video below, which provides an example. 👇
Metadata:
Before we move on to the next step, let’s clarify what NFT metadata is. NFT metadata on Cardano refers to the additional information attached to an NFT. This metadata includes details like the token’s name, description, and image. It’s a crucial part of the NFT as it provides essential information about the digital asset.
One of the standards for NFT metadata on Cardano is CIP-25 (Cardano Improvement Proposal 25). CIP-25 defines a standard format for storing metadata on Cardano’s blockchain, making it easier for users to understand and interact with NFTs. This includes details like the token’s name, description, and image. The CIP-25 standard also supports additional fields like the token’s creator, the date it was minted, and more.
Click 👉 here to see a side-by-side sample comparison of metadata input and output of a Cardano NFT. (the link leads to the pool.pm metadata test)
Create a Native Token
Create a Single NFT:
XFORGE simplifies the process of creating an NFT by allowing you to input the desired details directly, without the need to upload a separate metadata file. Simply input the information you wish to include and click [Create].
Create Multiple NFTs:
XFORGE provides a feature that allows you to create multiple NFTs with the same image and metadata at once. This functionality is particularly beneficial when you're aiming to create an NFT pass collection with consistent media and details.
Create a Memecoin:
XFORGE offers more than just NFT creation capabilities. You can also use the platform to create and mint a fungible token (FT), or if you want to create a memecoin.
Bulk Upload NFTs
NFTs consist of two files: the images and the metadata (subfiles are optional only). As mentioned before, you must follow the strict file naming format on XFORGE. Simply uploading the images and metadata to the platform does not transform them into NFTs; they must be minted onto the blockchain to become official NFTs. Below, you’ll find a step-by-step guide on how to efficiently upload your NFTs and metadata in bulk.
Ensure that your files follow strictly the XFORGE naming format. Additionally, it’s important to note that media file sizes should not exceed 25 MB.
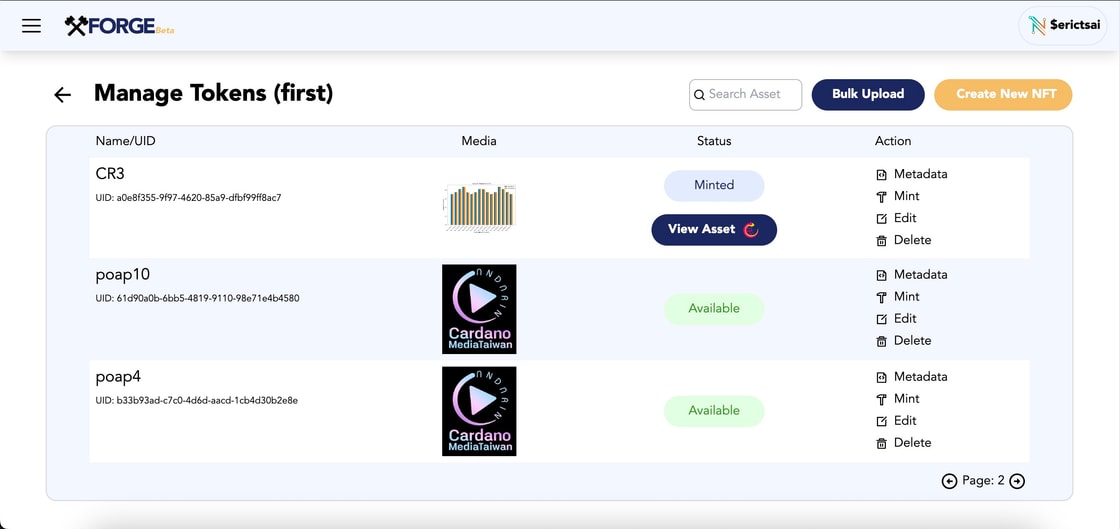
Go to the My Projects page and locate the project or policy to which you want your NFTs to be uploaded, then click [Manage Tokens]
Click [Bulk Upload]
Once you’re on the Bulk Upload page, you can read the rules or filename format and then click [Browse].
For optimal results, we advise uploading the metadata files first, followed by their corresponding images. To prevent errors or disruptions in the upload process, it’s recommended to upload no more than 500 files at a time.
After successfully uploading both the images and metadata, click [Confirm Upload]. It’s essential to verify by scrolling down the page that each image has its corresponding metadata uploaded before proceeding with this action.
If your collection has a huge supply, simply repeat the same process until all NFT files are uploaded successfully.
Create Mint Page
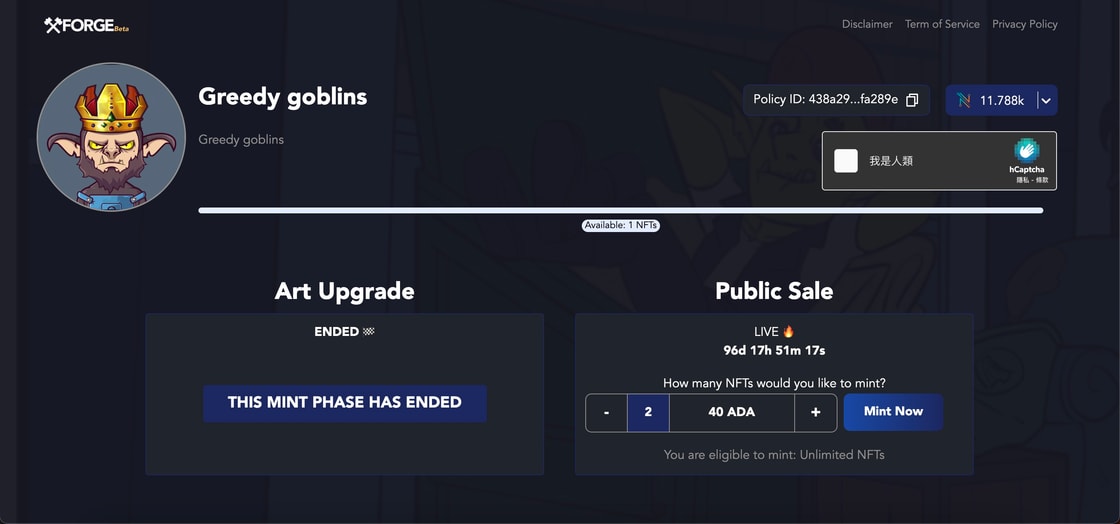
A mint page enables you to sell your NFTs directly to your community by allowing them to mint the tokens. Once you have uploaded your NFT files to XFORGE, you are almost ready to create your mint page. However, there are a few preliminary steps to complete beforehand.
Prepare a logo sized at 1000 x 1000 pixels and a background image at 1920 x 1080 pixels. Additionally, ensure you have finalized all mint details, including the mint price, date, etc. before proceeding to set up your mint page. However, it is worth noting that you can make edits to these details later if necessary.
To successfully create a mint page on XFORGE, deposit AWOO tokens based on the number of NFTs in your collection. Currently, the requirement is 20 AWOO per NFT. For example, if you have 1000 NFTs, you need to deposit 20,000 AWOO. These tokens will be deducted only when an NFT is minted. If your collection does not sell out and you stop the mint, you can withdraw your AWOO after deleting the mint page. A video guide below is available to assist you with the deposit process.
Now that you have completed the initial steps above, you can proceed to create your mint page on XFORGE. This process involves inputting specific details listed below:
Logo and Background
Project Name and Description: We recommend providing a description that is at least three sentences long. This will enhance the visual appeal of your mint page and provide a more comprehensive overview of your NFT collection to potential buyers.
Project links which include your website, X, and discord invite.
Select the project that you’ve uploaded on the My Projects tab.
Earning Wallet: Input your project’s wallet address where all the earnings from the mint will be sent.
Specify the number of mint phases you will have. For instance, you may choose to have two phases: a whitelist phase and a public mint phase. The default setting is one phase, but you can add more by clicking the [+ Add mint Phase] button.
You will then need to input the mint details for each mint phase. Those are mint phase name, mint starts and ends (date and time in UTC), selecting a whitelist if applicable, ADA price per NFT (token is possible), and the number of NFTs that can be minted per TX (up to 10).
Once you verify all the info is correct, click [Create Sale]. Click [View Sales Page] to be redirected to your actual mint page.